Import financial data from Mint

Overview
Thrive in Life Kit provides the functionality to import your financial data via a CSV file that has been exported from Mint. It is quick and easy.
Export a CSV file from Mint
Mint will use account names in the exported CSV file. So, it is crucial to rename the accounts in Mint such that the account names, even associated with different institutions, are unique. Account names need to be unique across all accounts listed in Mint. Otherwise, accounts will be combined in unexpected ways if they are exported with a common account name.
Mint uses the ‘Description’ field to define the payee/payer for a transaction. Since Mint truncates this field as it is received from your financial institution, it is entirely possible that payee/payer information will be truncated to the point of being less than useful.
Here are the steps to export your financial data from Mint as a CSV file.
Import the CSV file into Thrive in Life Kit
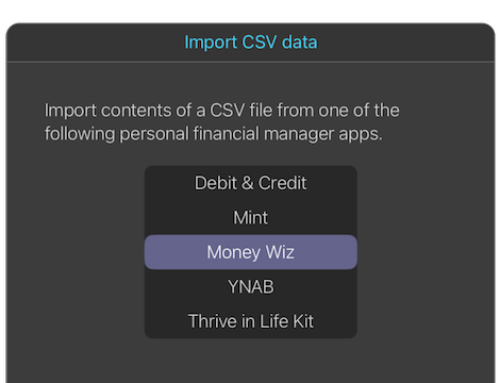
Here are the steps to import a CSV file, exported from Mint, into Thrive in Life Kit.
Post import clean-up
The name of the financial institution associated with the account name is not part of the CSV file and will be initially set to “Import Mint”. Use Manage Institutions to create or rename institutions. Use Manage Accounts to rename or move accounts to a new institution.
CSV file format details
The column headers in Mint’s CSV file are mapped to account and transaction fields in Thrive in Life Kit as follows:
Mint Field -> Thrive Field
Date -> Date (format: mm/dd/yyyy)
Description -> Payee/Payer (length may have been truncated)
Original Description -> not used
Amount -> Amount (always a positive number, no dollar sign)
Transaction Type -> Transaction Type (debit, credit)
Category -> Category
Account Name -> Account Name
Labels -> not used
Notes -> Memo
More information
How can I download my transactions? Mint Help article